So you’ve had an impressive deck on your property for some time now, but it sure would be nice to have something to lean on while standing or having a conversation with someone. A stunning deck railing is the final touch it needs to complete the look.
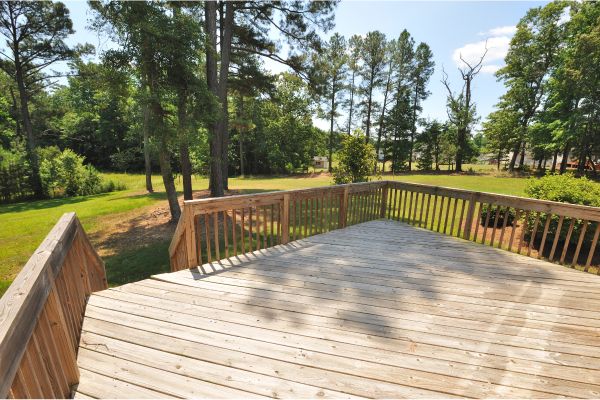
A deck railing serves two purposes: it keeps guests, kids, and your furry family members from tripping and falling off the structure, which could be dangerous, and it makes your outdoor living space visually appealing.
While decks are highly-desired by many homeowners, constructing one could be challenging. But don’t let that put you off; there’s no reason you can’t try it yourself. With deck stairs, adequate preparation, sound guidance, and a willing assistant, you can handle the job on your own.
Now, let’s get down to business and talk about how to build a deck railing.
1. Prepare the materials needed
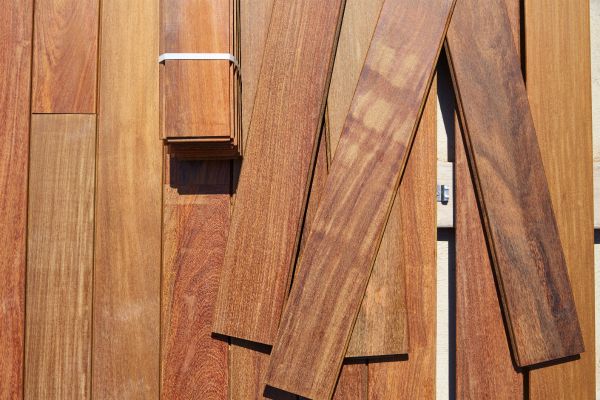
For this project, you will need to prepare your choice of wood. You’ll also need a circular saw, a drill, and screws. Before you start, familiarize yourself with your local deck construction regulations. Building your deck according to regulations is important to avoid issues later. Although each state has different rules, most states set the deck railing height to a minimum of 36 inches from the surface to the top railing of the deck.
2. Measure the railing posts and balusters
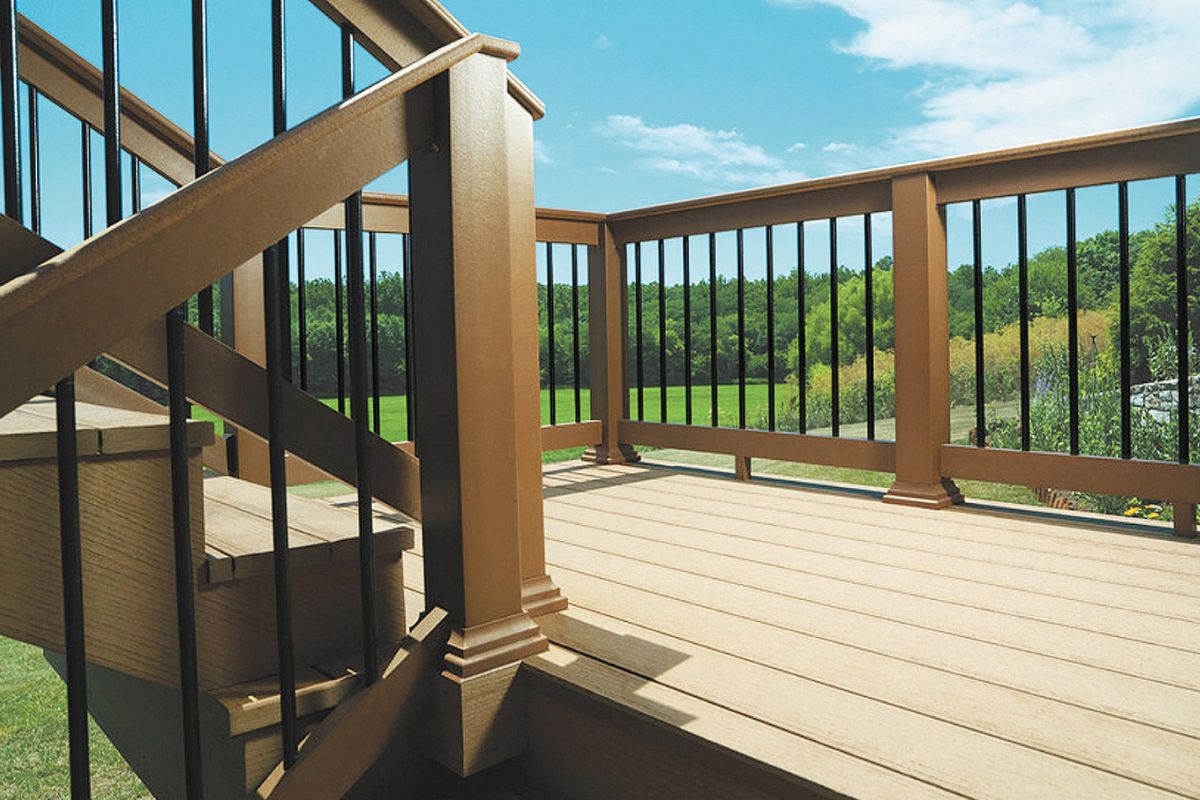
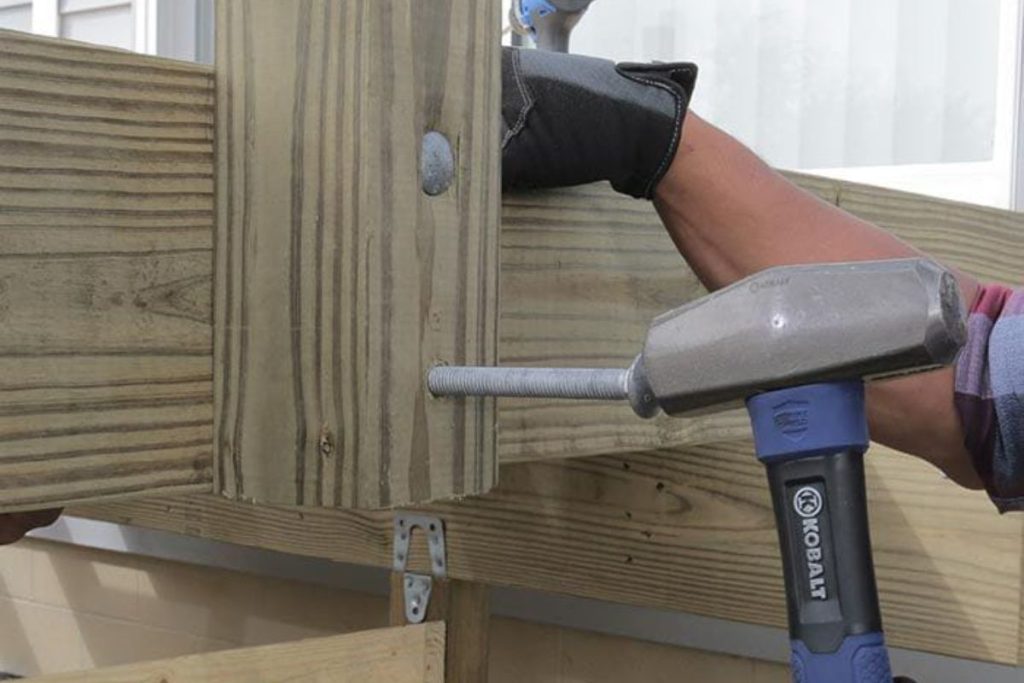
Railing posts are thicker pieces of wood that support your deck railing. Attach the rail posts by measuring the distance between each rail post and ensuring they are six feet apart, at most, for a 4×4 post. The number of posts you will need will depend on the design you have in mind for your deck. Mark the spots where you want your posts to be installed, and use bolts approximately two inches long to secure each post.
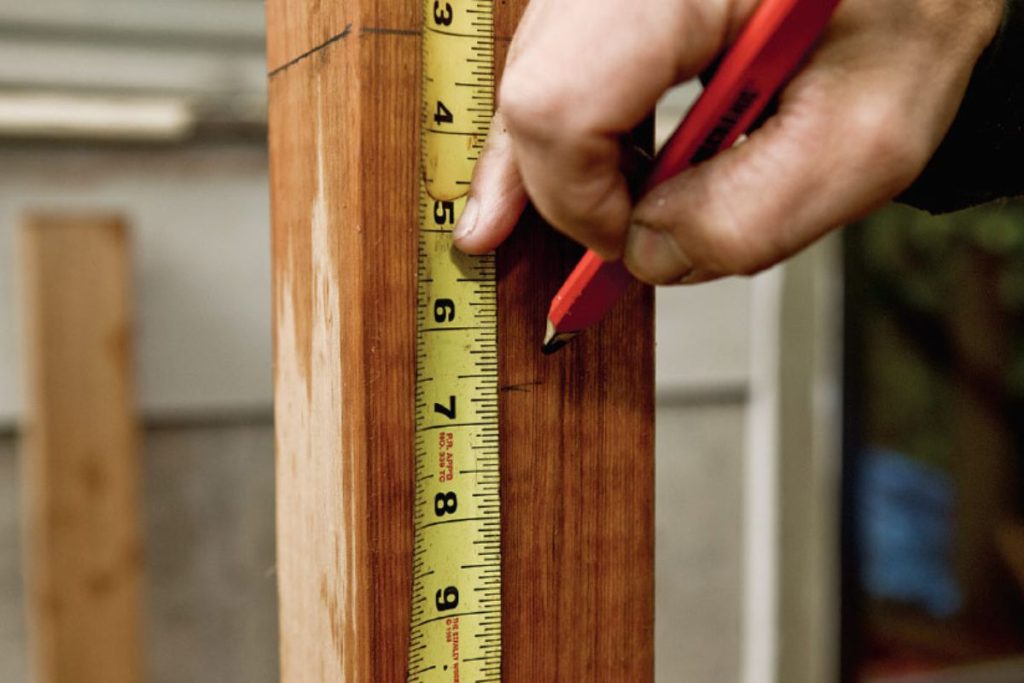
The next step is to measure the balusters. Balusters are smaller pieces of wood, usually 2×2 in size, that run from the top rail down to the bottom rail between the thicker railing posts. Balusters should be at least 36 inches in height but check with your local regulations first, as the required size might vary from state to state.
3. Assemble the balusters
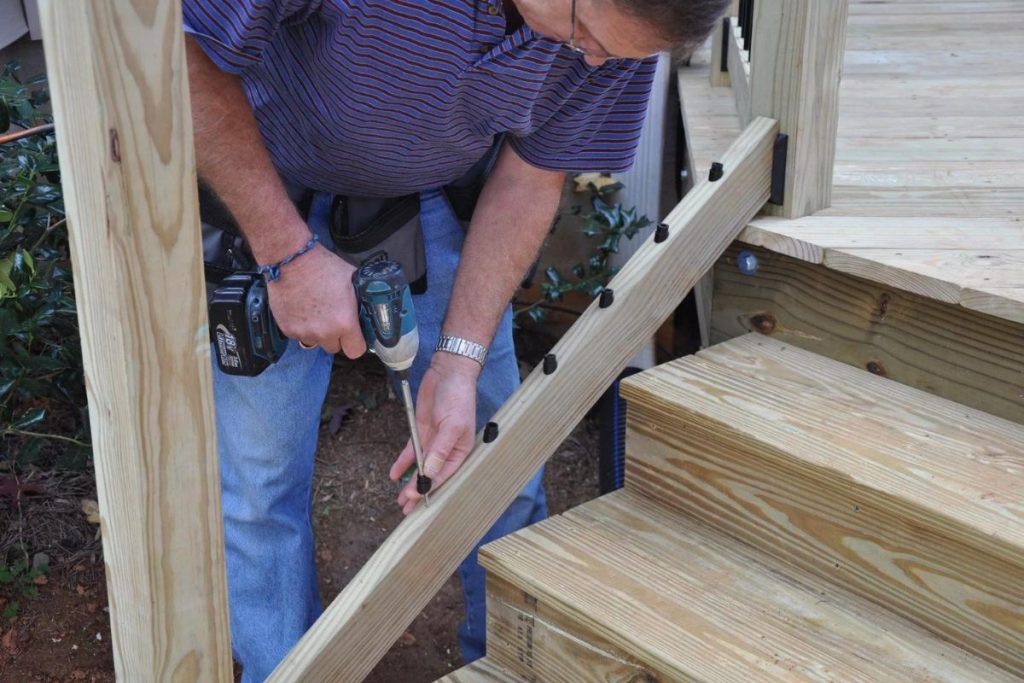
Once the wood pieces are measured according to size, it is time to assemble the railings. It is suggested that each baluster be approximately four inches apart. Take time to measure your baluster spacing. Screw each baluster to the top and bottom rails. Secure them in place by using a 2-inch-long screw.
4. Install the deck railings
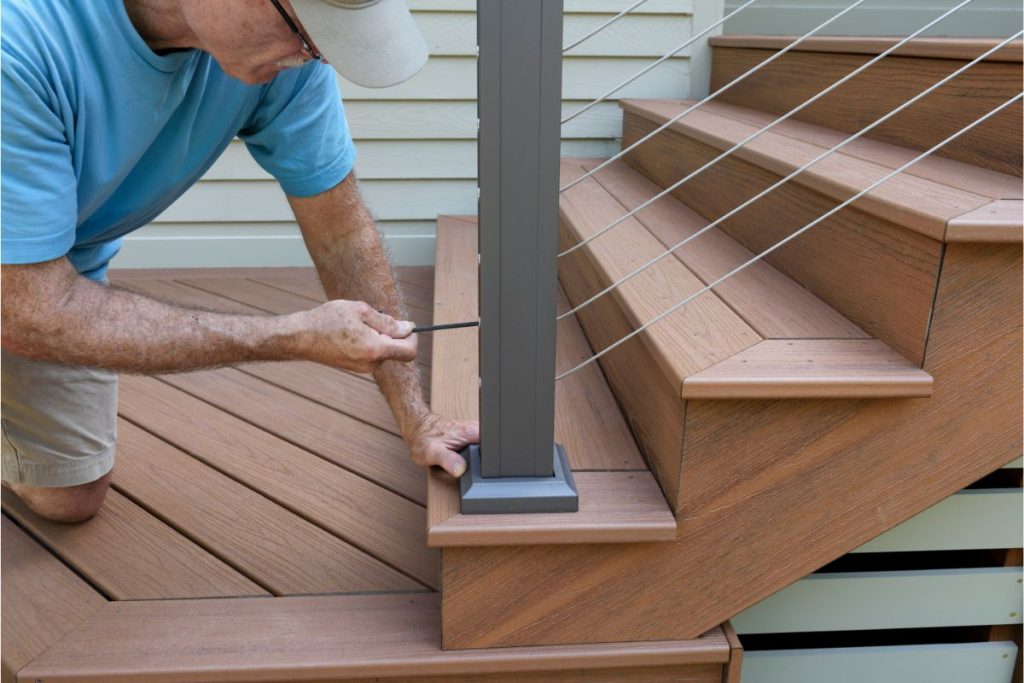
Install the deck railing in sections. Get your assembled balusters and screw the bottom rail to the posts. Drive long screws at an angle into pre-drilled holes so the bottom rail will be secured. Do the same for the top rail. Repeat these steps for each section until your deck is complete.
Wonderful DECKoration!
Sprucing up your home with a well-built deck will elevate the look of your home, increase its value, and provide you with an additional space to enjoy the great outdoors in the comfort of your home. You can sit, relax, or even entertain guests on your deck.
Here at Zappa Deck Builders, you won’t only find helpful, courteous builders; you’ll also find trustworthy and established professionals. In addition to our hard work and enthusiasm, we also bring a high level of workmanship to each project. Decks, patios, hardscapes, porches, gazebos, pergolas, and shade structures are just a few of the many outdoor features we can build for you.
If you have any questions, please call us at 909-787-2759 today. Thanks to our many years of experience in the decking industry, we guarantee ZAPPAmazing DECKorations!
